Price Levels
HandiFox Online allows shaping a more flexible pricing policy in the app and running promos without fear of giving the wrong price to the wrong customer.
Creating Price Levels
There Are two ways to create a price level: by setting a custom price per item and by changing the price by a fixed parameter.
To start creating a new price level, in the web interface go to Sales → Price Levels → click ![]()
Custom Price per Item
Custom price per item allows setting a specific price for items that can be applied to all items and all customers, or only to a select few. It also allows creating a price level that applies only to a specific foreign currency.
First, select a currency that you want this price level to be applied to in the drop-down menu.
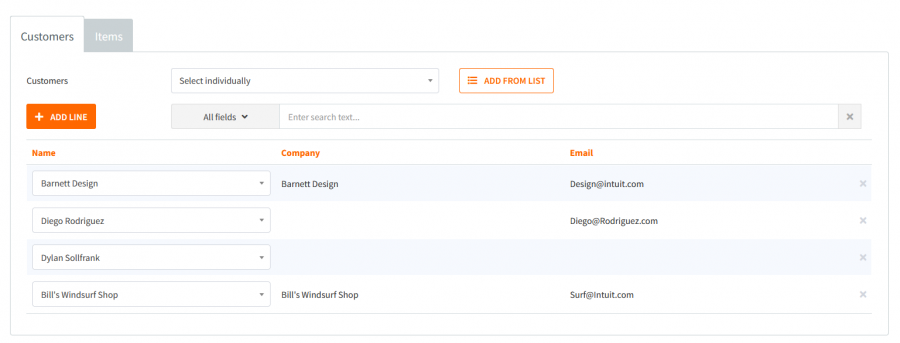
Then you need to choose to whom this price level will apply in the Customers tab. If you want to apply this price level to all customers, simply select "All customers" in the drop-down menu.
| NOTE: When you select All customers, only the first 10 customers will be shown on one page. This doesn't mean that the price level will be applied only to them. The price level will also apply even to new customers if you add them after the creation of the price level for all customers. |
If you want this price level to apply only to one or several customers, choose the "Select individually" option. You can either add them one by one by clicking Add Line and selecting from a drop-down menu, or you can click on Add from list.
The Add from list feature opens a pop-up window where you can check the necessary customers, which is useful if you want to add them in one bunch. It also allows you to search customers by All Fileds, Name, Company, Currency, and Email.

